Step 4 - Install Composer and Laravel
Tutorial: How to Install Laravel 7 on VirtualBox VM Running Linux Mint 19
Our next step is installing Composer and, finally, Laravel.
Let’s get started.
Install Composer
Composer is a dependency management software. It will allow us to easily install Laravel and everything it needs.
1. Run installation code
- Following the instructions at getcomposer.org/download/
- Copy their code
- Paste it in terminal
Your code might look slightly different since you’ll be installing a newer version of Composer. This should not cause any problems. Make sure you copy the code from Composer’s download page to get the latest version.
php -r "copy('https://getcomposer.org/installer', 'composer-setup.php');"
php -r "if (hash_file('sha384', 'composer-setup.php') === 'e5325b19b381bfd88ce90a5ddb7823406b2a38cff6bb704b0acc289a09c8128d4a8ce2bbafcd1fcbdc38666422fe2806') { echo 'Installer verified'; } else { echo 'Installer corrupt'; unlink('composer-setup.php'); } echo PHP_EOL;"
php composer-setup.php
php -r "unlink('composer-setup.php');"
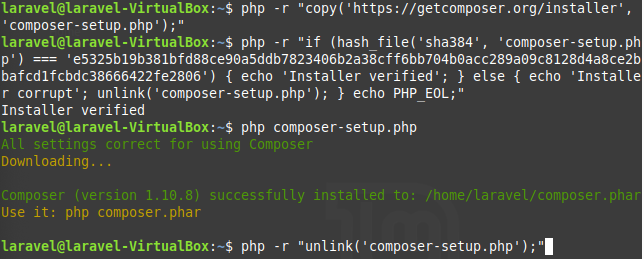
- It will stop running on the last line, so press the Enter/Return key to finish it
2. Move composer.phar
- To move the Composer file, run:
sudo mv composer.phar /usr/local/bin/composer

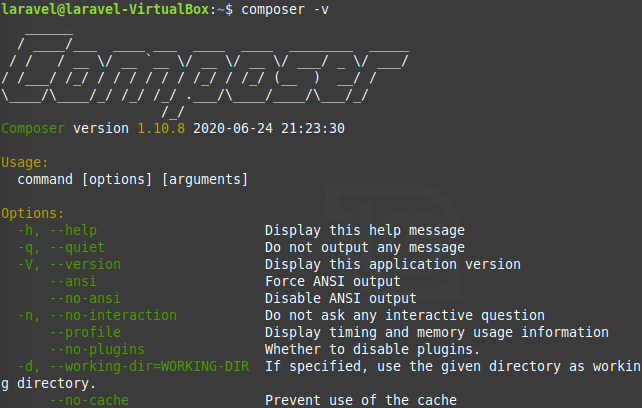
3. Verify Composer version
- To verify Composer is installed and running properly, run:
composer -v - You should see something like this
Install Laravel using Composer
Now that Composer is installed, we can finally install Laravel.
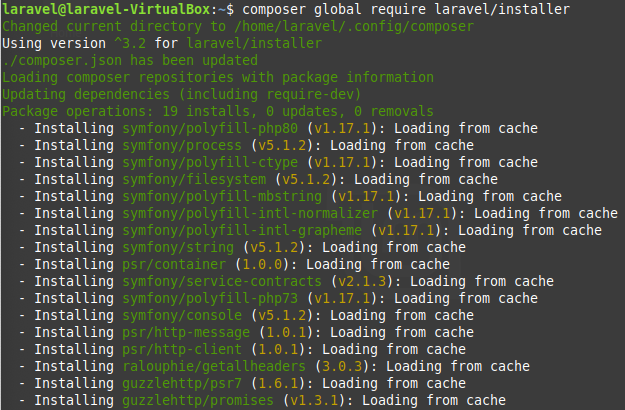
4. Install Laravel
- In terminal, run:
composer global require laravel/installer

Depending on when you run this command, you might get a newer version of Laravel. At the time of this tutorial, 19.3 was the most recent version
- You should now see it installing Laravel, which can take some time
Add Composer to $PATH
One last thing before we can use the laravel command - adding Composer’s vendor bin directory to $PATH. This will tell the terminal where to find the info for the laravel command.
To do this, we’ll be using a text editor called vi, which can be kind of tricky.
If you mess up or get lost anytime before Step 9, do the following:
- Press the Esc key
- Type
:q!to discard your changes and quit vi - Try again from Step 5
If you’re still having issues, you could try nano instead (e.g. sudo nano .bashrc)
5. Edit .bashrc
- To make sure you’re in the home directory, run:
cd ~ - To open .bashrc with vi, run:
sudo vi .bashrc - Enter your password if prompted

6. Move to end of file
- With the .bashrc file open, type
G(make sure you hit the shift button first to make it a capital G)- This will take you to the end of the file
7. Insert 2 new lines
- Type
o(lower case o) and press the Enter/Return key - This will give you 2 new lines. You are now in Insert Mode. Any characters you type will be entered into the file.
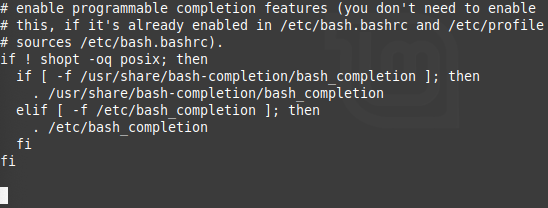
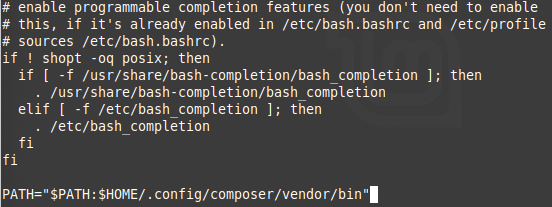
8. Add composer to $PATH
- Enter the following at the end of the .bashrc file:
PATH="$PATH:$HOME/.config/composer/vendor/bin"
Make sure everything is exactly the same. Any difference means the laravel command probably won’t work.
9. Write and quit .bashrc
- Press the Esc key
- Type
:wqand press the Enter/Return key- This will save the text you entered and exit the file
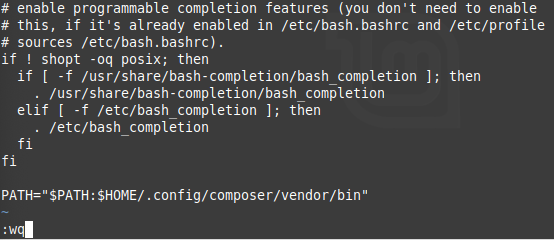
- You should now be back at the main terminal screen.

10. Close and re-open Terminal
- Close terminal and re-open it (to save our changes)
Start Building Laravel Apps
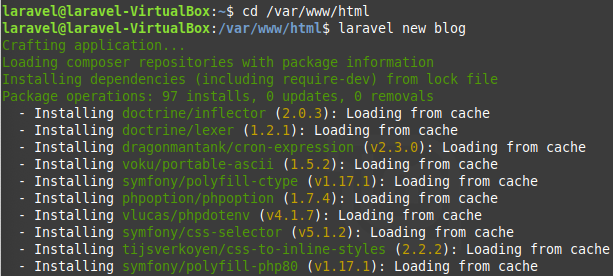
Now you can navigate to your web directory
cd /var/www/html
And use
laravel new {name}
(replace {name} with your app’s name)
to create a new Laravel app
You Made It!
Well done sticking with it. Now go build some stuff!