Step 3 - Install MySQL and PHP 7.4 + Extensions
September 26, 2020
Tutorial: How to Install Laravel 7 on VirtualBox VM Running Linux Mint 19
Our next step is installing MySQL, PHP 7.4, and the necessary extensions.
Let’s get started.
Install MySQL
1. Install MySQL server
- Back in the terminal, run:
sudo apt install mysql-server - When it asks if you want to continue
- Type Y
- Press the Enter/Return key

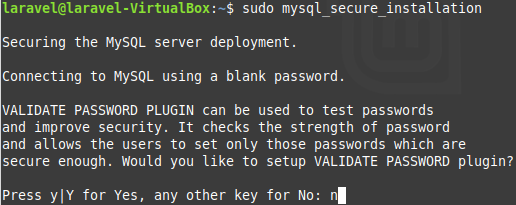
2. Run MySQL secure installation script
- Once it’s finished installing, run:
sudo mysql_secure_installation

3. Secure settings for MySQL
- It will ask you to specify a number of settings:
- Validate Password Plugin
- Type
nto skip it
- Type
Just make sure you already use strong passwords all the time!
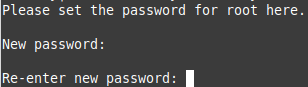
- Root password
- Enter a strong password and press the Enter/Return key
- Type your password again and press the Enter/Return key
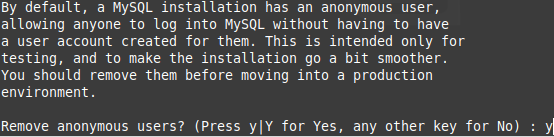
- Remove anonymous users?
- Type
yto remove them
- Type
- Disallow root login remotely?
- Type
yto disable remote root login
- Type

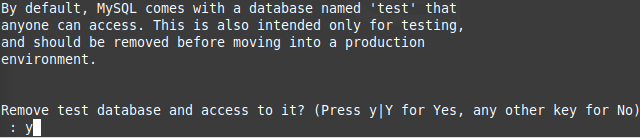
- Remove test database and access to it?
- Type
yto remove them
- Type
- Reload privileges table now?
- Type
yto save your changes
- Type

4. Test MySQL is setup properly
- To test your mysql database server is working, run:
sudo mysql - You should now be logged into the MySQL monitor tool
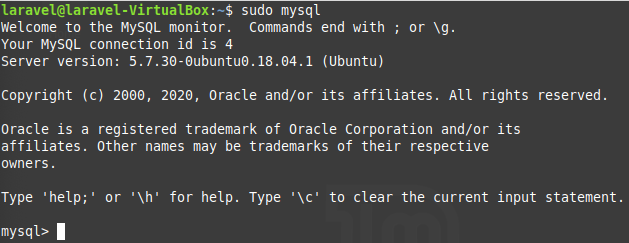
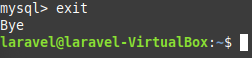
- To leave this screen, type
exitand press the Enter/Return key
Install PHP 7.4 and Necessary Extensions
Linux Mint 19.3 only comes with PHP 7.2, but Laravel 7 needs PHP version 7.4. To get it, we need to install a separate repository.
5. Install needed package
- In terminal, run:
sudo apt install software-properties-common - Enter your password if prompted

6. Add the PHP repo
- Once that’s finished, run:
sudo add-apt-repository ppa:ondrej/php

7. Run updates
- To get the updates, run:
sudo apt update

8. Install PHP 7.4
- To install PHP 7.4, run:
sudo apt install php7.4

- When it asks if you want to continue, type
yand press the Enter/Return key
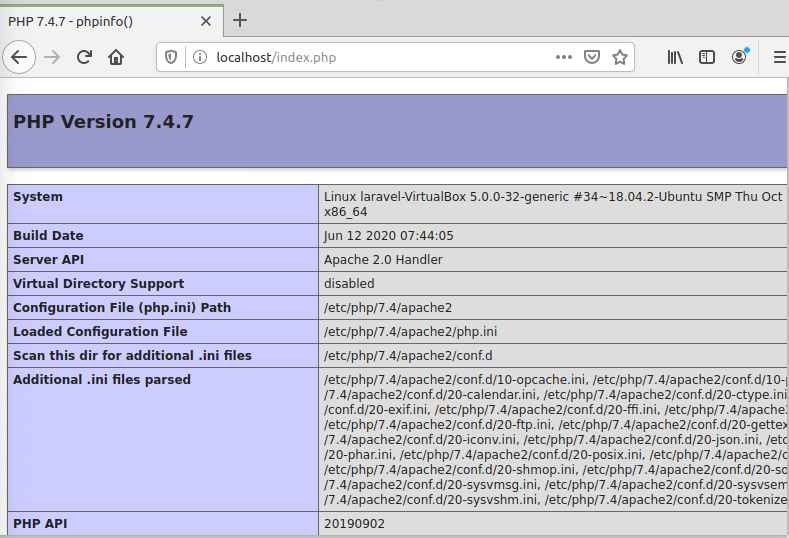
9. Check PHP version
- To make sure the correct version was installed, run:
php -v - You should see the version as 7.4.x (mine was 7.4.7, but yours could be newer)

10. Install PHP extensions
- To install the needed PHP extensions, run:
sudo apt install libapache2-mod-php php-mysql php-zip php-mbstring php-xml

- When it asks if you want to continue, type
yand press the Enter/Return key
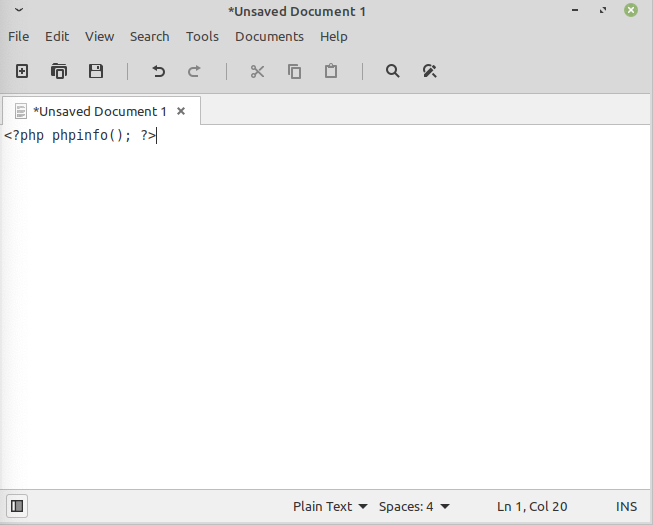
11. Create index.php file
- Now, to check that PHP is working properly, create a file named ‘index.php’
- You can use Text Editor or download Sublime Text or any IDE (Integrated Development Environment) using the Software Manager application
- Add this code to the file:
<?php phpinfo(); ?>
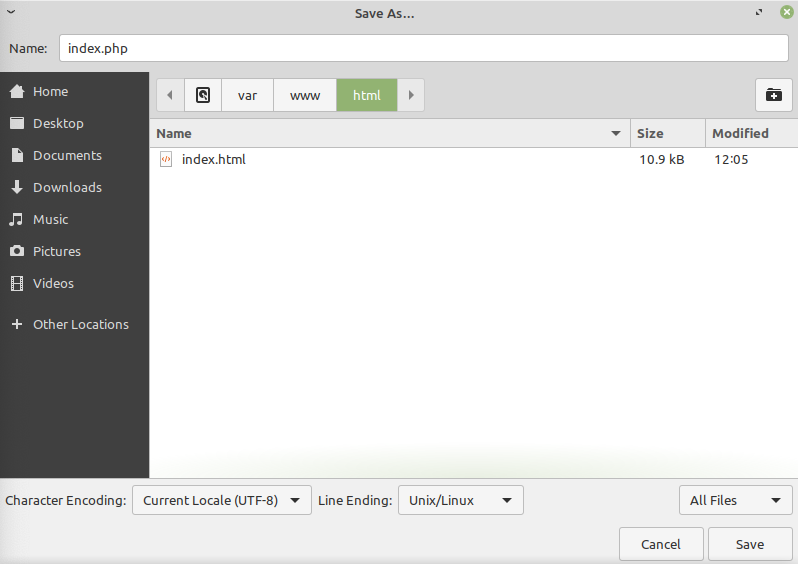
- Save the file in /var/www/html
12. Check that PHP works
- Open a browser (like Firefox)
- Navigate to
localhost/index.phpor127.0.0.1/index.php - You should see the PHP info page
Next Steps
Continue on to the next post - Install Composer and Laravel