Step 2 - Install Linux Mint (19) and Run Updates
September 26, 2020
Tutorial: How to Install Laravel 7 on VirtualBox VM Running Linux Mint 19
Our next step is installing Linux Mint (19) on our virtual machine and then updating it.
Let’s get started.
Start the VM and Install Linux Mint (19)
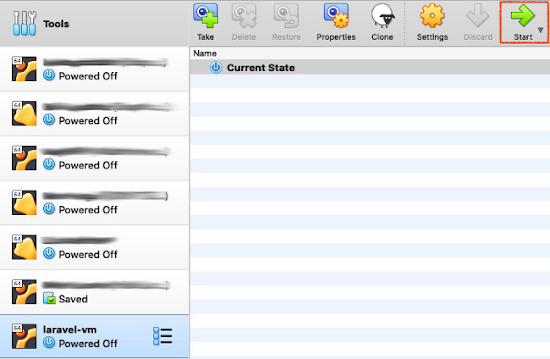
1. Boot up the VM
- From the VirtualBox Manager, select your new virtual machine and click Start
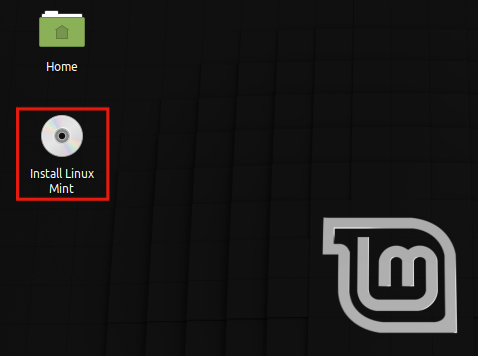
2. Start Linux Mint installation
- Once your virtual machine has booted up, you should see an icon on the Desktop that says Install Linux Mint.
- Double-click it to begin the installation process.
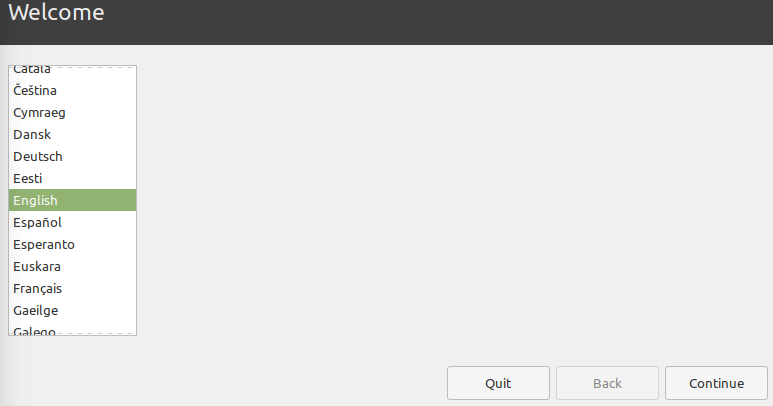
3. Welcome
- Select your preferred language
- Click Continue
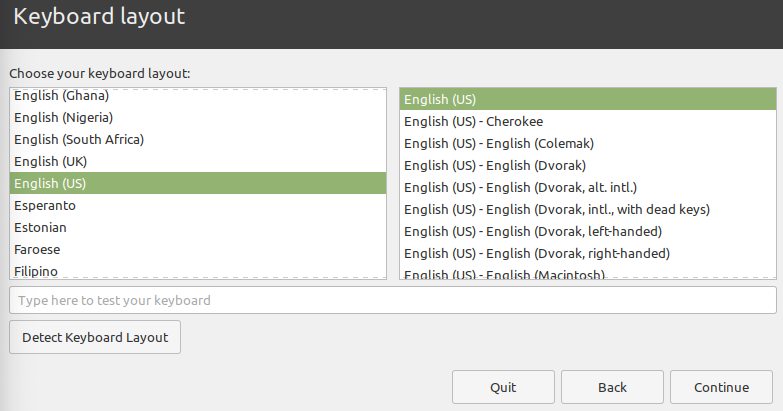
4. Keyboard layout
- Select your keyboard layout
- Click Continue
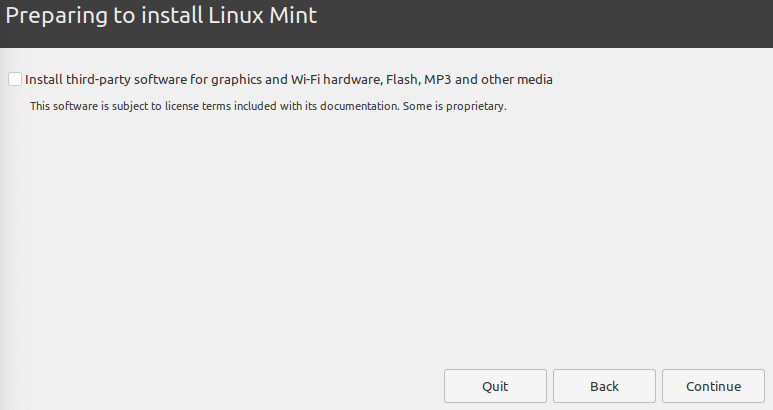
5. Preparing to install Linux Mint
- Click Continue
You can install third-party software, but I leave this option unchecked and run updates as soon as I’m done
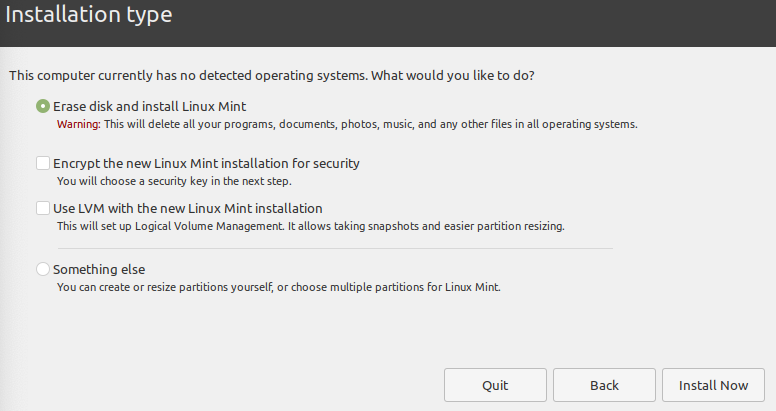
6. Installation type
- Click Install Now
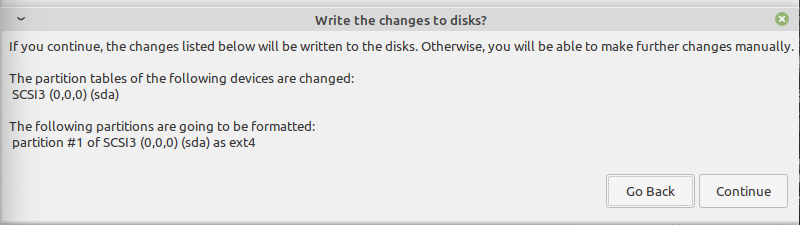
7. Write the changes to disk?
- If everything looks good, click Continue
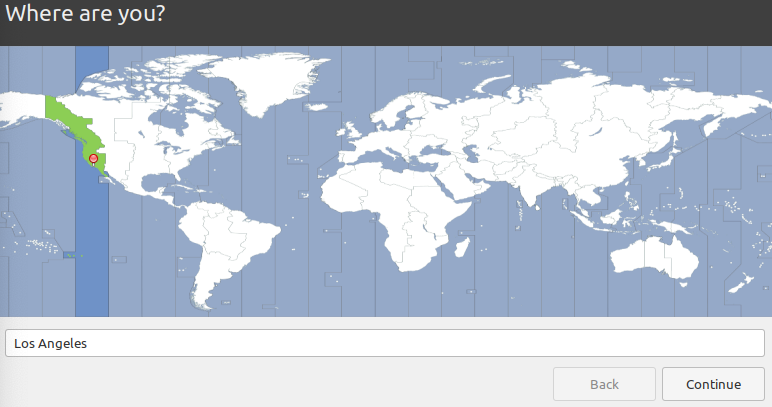
8. Where are you?
- Select your time zone
- Click Continue
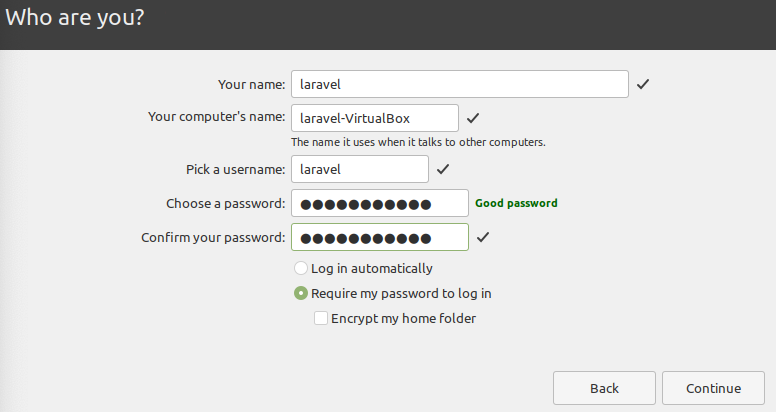
9. Who are you?
- Your name: Enter a name
- Pick a username: Enter a username
- Choose a password: Type in a strong password
- Confirm your password: Re-type your password
- Select either Log in automatically or Require my password to log in
- Click Continue
Store the username and password info in your password manager - What is a password manager?
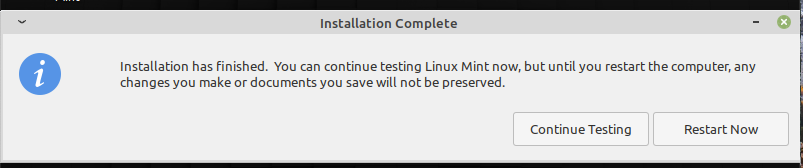
10. Restart the VM
- Once Linux Mint has finished installing, click Restart Now
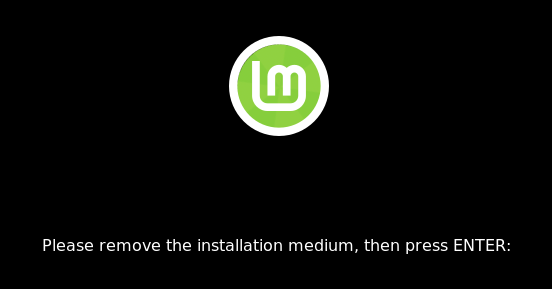
11. Remove installation medium
- After restarting, the virtual machine will ask you to ‘Please remove the installation medium, then press ENTER:’
- Press ‘Enter’ and it should automatically remove it for you
- If that didn’t work, close the virtual machine and go into VirtualBox’s Settings->Storage section like before
- Right-click on the ‘linuxmint-19.3-xfce.64bit.iso’ file and select Remove attachment
- Click OK and double-click the virtual machine to start it
Log into the VM and Install Updates
12. Log in
- If prompted, log in with the username and password you set
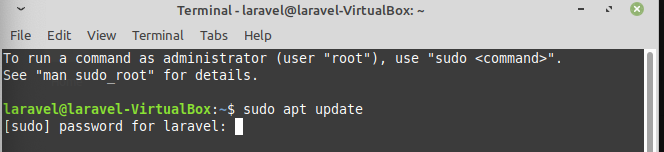
13. Run updates
- Open up terminal and run:
sudo apt update - Type your password when prompted
- Press the Enter/Return key
14. Upgrade Linux Mint
- Once it’s finished updating, run:
sudo apt dist-upgrade - When it asks if you want to continue
- Type Y
- Press the Enter/Return key

15. Restart & log back in
- Once it’s finished upgrading, which can take awhile, restart your computer and log back in.
Next Steps
Continue on to the next post - Install MySQL and PHP 7.4